You can create your own custom color filters that can then be applied to images and GIFs. The filters use a color lookup table to map each color in the photo to a new color to produce effects such as high contrast black and white photos, sepia or antique coloration, false color photos etc.
Note: Breeze uses its own implementation of a LUT, so do not export files as a .3dcube file.

Download the Filter Template
How it works
The template contains a layer called Pattern which is essentially a color Look Up Table (or LUT). This is the file that will ultimately be saved and used in Remote Pro as your filter. Disable this layer, and enable the sample photo layer. You can use the sample photo provided, or add your own photo.
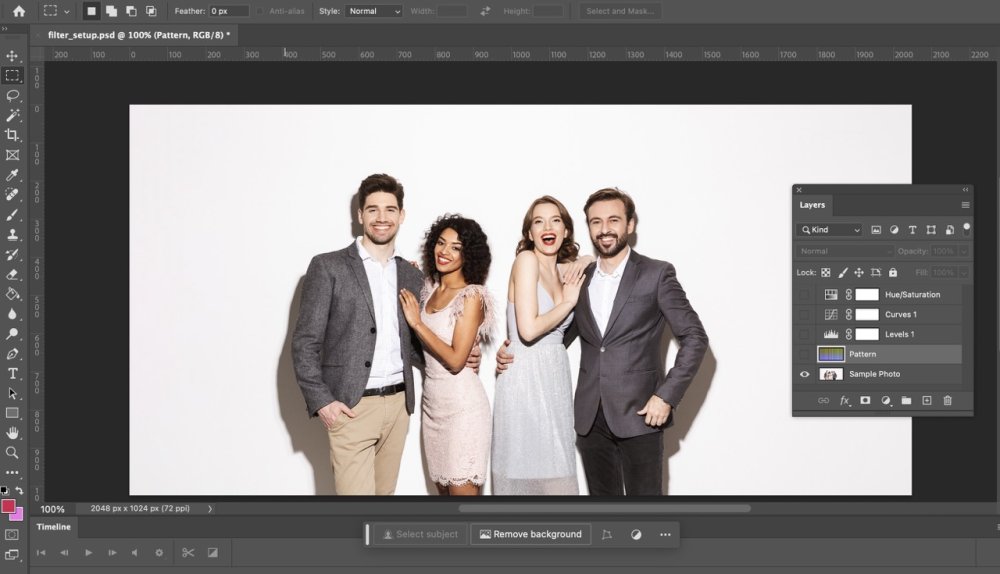
You can then add your own Adjustment Layers to your own requirements.
Note: You can only adjust the color of pixels, not modify their shape. This means you cannot apply things like sharpening or smoothing.

Once you have the look that you require, disable the Sample Photo layer, and enable the Pattern Layer. You should now have something that looks like this:
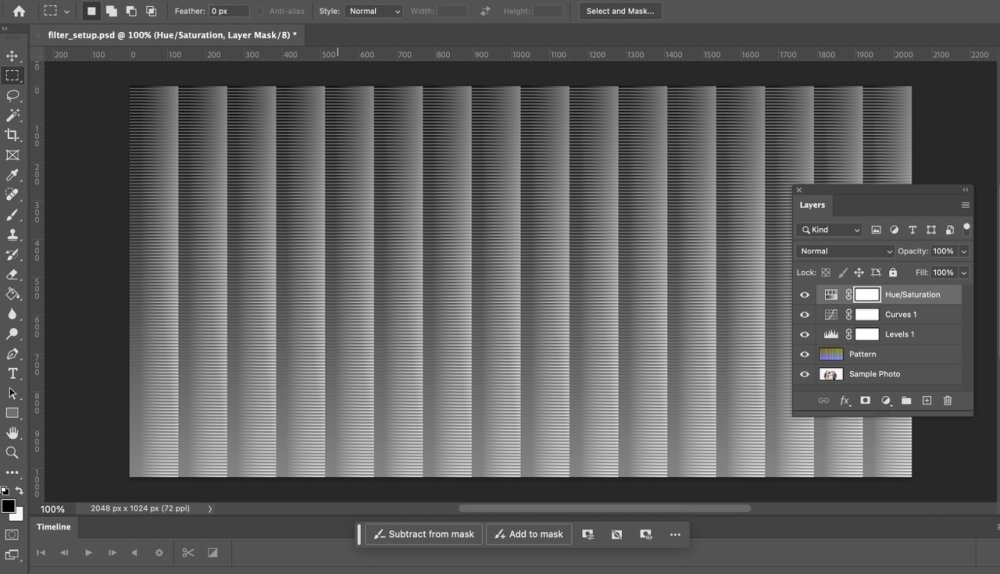
Save the file as a JPG at 100% quality, without changing the dimensions. The file should be 2048×1024 and named: filter1.jpg, filter2.jpg, filter3.jpg etc
Note: Saving the file at the wrong dimensions will cause the filter not to work.
Using the Filters in Remote Pro
There are multiple ways you can use Filters in Remote Pro. You can:
•Set a default filter that applies to all images, GIFs and videos. •Allow guests to make a selection on the ready screen of the Photo Booth. •Assign specific filters to specific images on the print layout.
Default Filter Copy the new filter file into your folder of screen assets. Select the filter in Photo Booth Settings > Print Photos In:
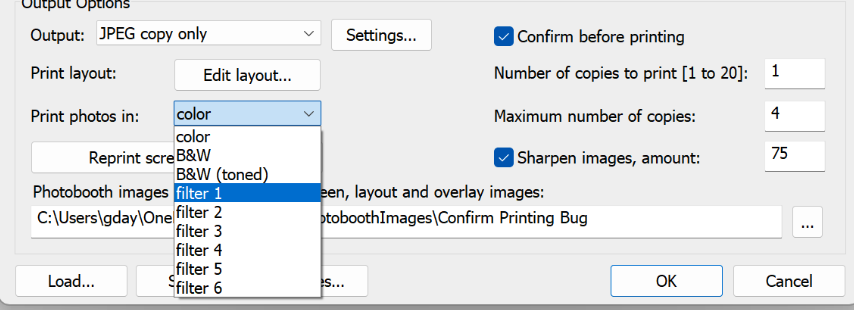
Note: If your filter file is filter1.jpg, select Filter 1 from the menu to enable it.
User Selected Filters
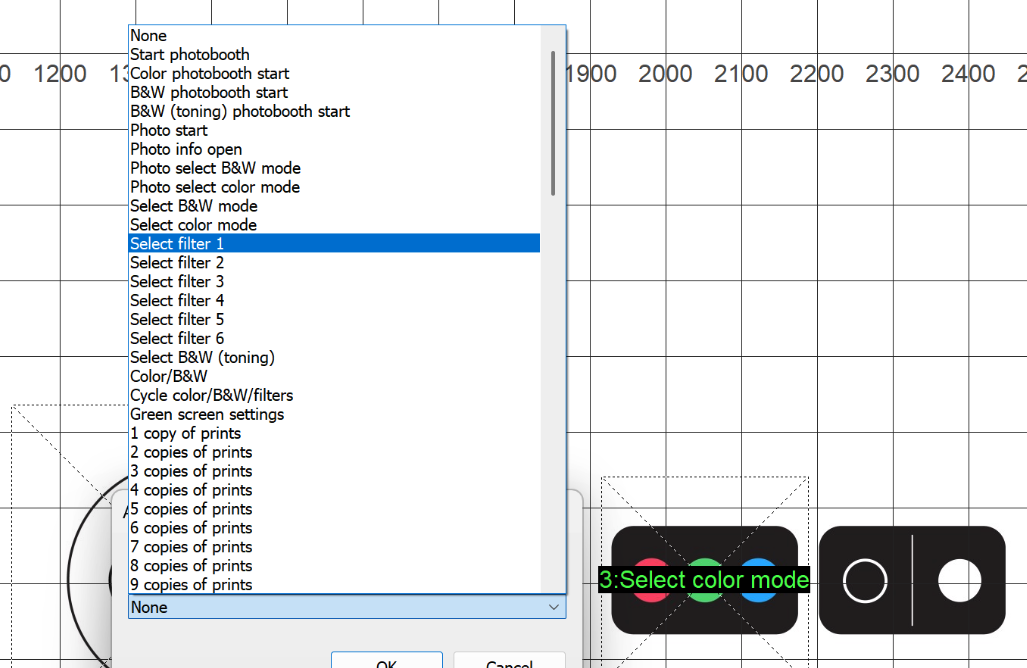
In the TouchScreen Editor you can assign touchscreen actions to enable each individual filter.
Print Layouts
Filters can also be applied to photos when they are added to the print layout.
Please see the Print Layout FX guide for details.
|